If you are currently using version 5.x.x, we advise you to upgrade to the latest version before the EOL date. You can find the latest documentation here.
Notifier
Overview
The Notifier controls the notifications that are generated by the Active Console.
To access the Notifier, you can either:
- Go to Tools > Notifier.
- Click Notifier
 in the toolbar.
The Notifier has three main settings:
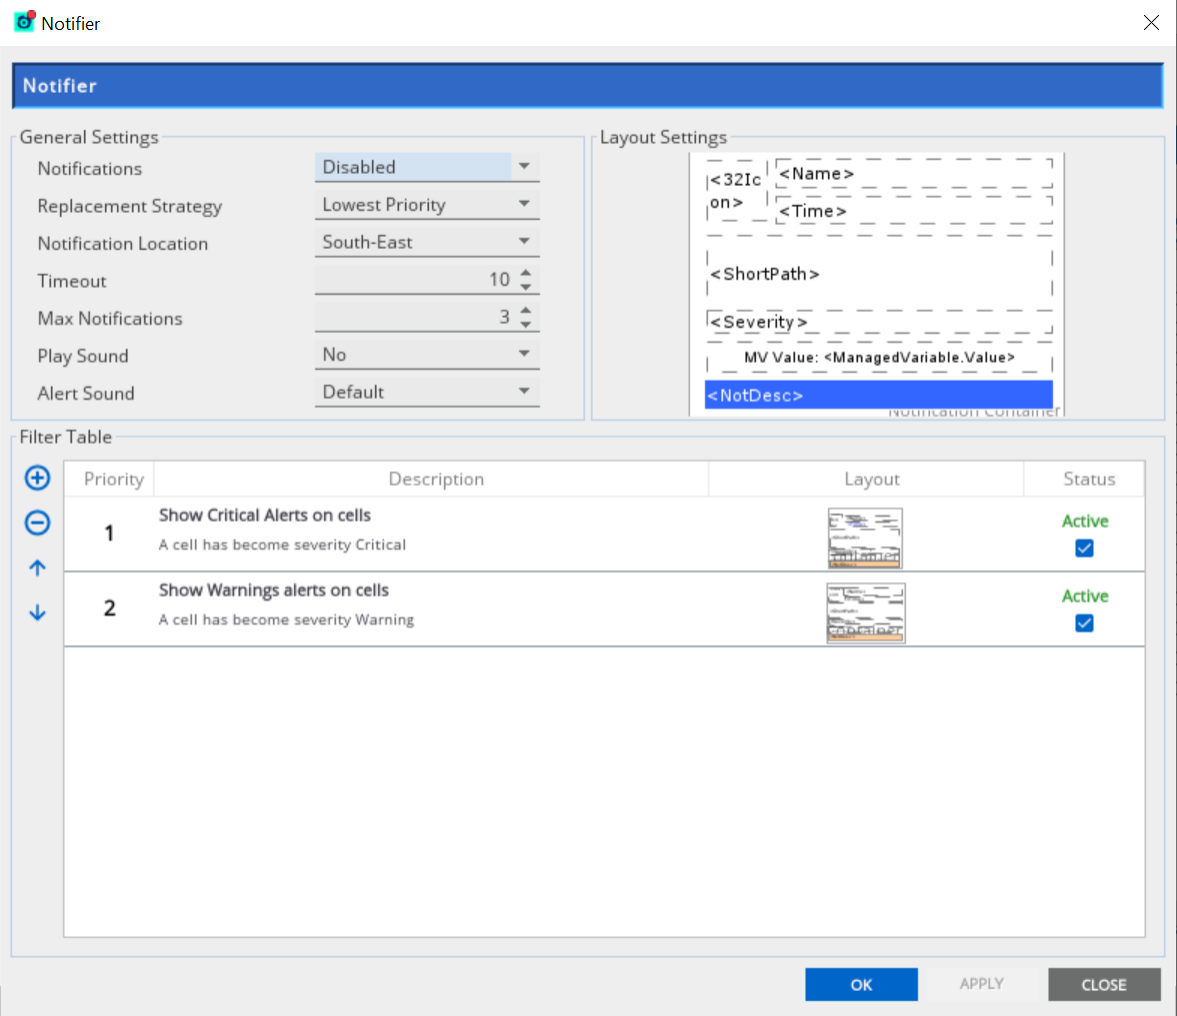
- General Settings — deals with the main configuration of the Notifier. This defines the default settings for notifications, and details of how and when notifications should be removed.
- Layout Settings — allows you to customise the layout and content of notifications. This defines the default layout for notifications, which can be overridden on a filter by filter basis.
- Filter Table — contains a list of the filters you have defined. This defines what changes in the connected Gateways should trigger notifications.
The notification filters within the Active Console and Gateway follow this workflow:
- The Gateway tells the Active Console when its state changes, including what data item has changed.
- The Active Console informs the Notifier of the changes in state, and the data item that caused it.
- The Notifier finds out if any of the paths on its filters match the changed item.
- The first filter that has a path which matches the changed item generated a notification (if no paths match, then it does not generate a notification).
Notifier General Settings
The General Settings define the default values for notifications (that can be overridden on a filter by filter basis), as well as the details of when notifications should be removed.
When you double-click the notifications displayed in the row, cell, sampler, or dataview paths, this opens the Metrics view with the corresponding managed entity and selected sampler.
Here are the options and fields you can modify:
| Field | Description |
|---|---|
| Notifications |
Allows you to display or disable the notifications. These are the options:
|
| Replacement Strategy |
Decides what to do if the maximum number of displayable notifications is reached and if a new notification needs to be displayed. These are the options :
|
| Notification Location |
Sets where on the screen to display the notifications. Options: North-West, North-East, South-East, South-West |
| Timeout |
Sets the duration time when displaying notifications (in seconds) in the screen before the system removes them. If this setting is set to 0, the system never removes the notifications, unless a replacement strategy forces them to be removed. Default: 10 |
| Max Notifications |
Sets the maximum number of displayable notifications in the screen at a given time. If this is set to 0, there is no limit to the number of notifications to be displayed. |
| Play Sound | Sets an audible warning when the system displays the notification. |
| Alert Sound |
Decides whether the default sound should be played or a user-defined custom sound. The options are:
|
Note: The Active Console uses the Java sound system to support playback. Java sound supports the following audio file formats such as the, AIFF, AU and WAV. It also supports the following MIDI-based song file formats, such as, SMF type 0 (Standard MIDI File, aka .mid files), SMF type 1, and RMF.
Notifier Layout Settings
The Layout Settings define the default layout for notifications that include the details to be displayed in Active Console. Layouts can be overridden on a filter by filter basis.
The default notification container uses the hard-coded layouts that contains the:
- icon
- name
- time
- short path
- severity
- managed variable value
- description
To edit this layout:
- Go to Tools > Notifier > Layout Settings.
- Double-click the notification container. The Notification Editor appears on the screen. See Notification Editor.
- Drag and drop the data items or variables from the toolbar that you want to display in the container.
- Click OK to save the changes.
Consider the following behaviours when editing the layout of your notification container:
- The system displays monitored variables that are not applicable to the data items as "Unknown" on the displayed notification.
- Only the variables within the notification container can appear in a notification.
Notifier Filter Table
The Filter Table displays the list of active filters in Active Console
Each filter has a priority, name, description, layout and whether it is active or not. From this list, you can create new filters, remove existing filters, or modifying existing ones. You can also directly change the active status of the filters and make them inactive.
In a new workspace, the default active filters are:
- Show Critical Alerts on cells
- Show Warnings alerts on cells
To add a new filter:
- Go to Notifier > Filter Table settings.
- Click Add
 . A new filter row appears in the filter table list.
 - Double click the new filter row to set filter paths. The Filter Configuration screen appears.
- Configure the filter paths' general settings, layout, paths, and properties. See Configure the filter table.
- Click OK to save the changes.
Consider these information when adding or editing a filter:
- Traditionally, you can add and edit the filters in the Notifier, but you can drag and drop any data items from the dataview or other list views, dockables, and view paths from the State Tree into the Filter Table list. This can be useful to quickly setting up notifications for a problematic data item or sets of data items you want to closely monitor.
-
You can create a filter that can display notification for multiple data items by dragging and dropping many items at the same time. In this case, a single filter with a path per item dropped is created.
Configure the filter table
This section walks you through the detailed steps to configure the filter paths in the Filter Configuration settings.
This allows you to modify the following settings:
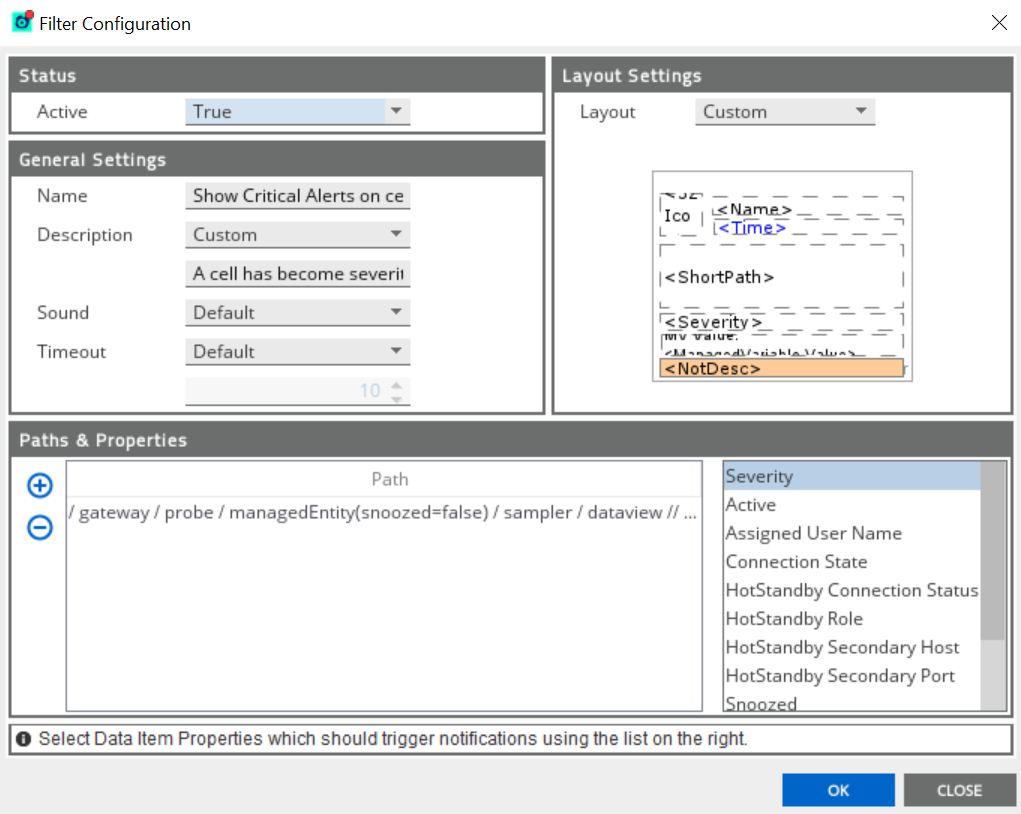
- Status — defines whether the filter is active or not.
- General Settings — defines settings such as its name, description, and whether to override the manager level sounds and time out settings.
- Layout Settings — shows the content and layout of the notifications created by the filter. This can either by the default or a custom layout.
- Paths — contains a list of paths that define the changes to the connected Gateways should trigger notifications to be displayed using this filter.
Filter general settings
The General Settings contains the following fields that you can modify:
| Field | Description |
|---|---|
| Name |
Name of the filter. This setting is purely cosmetic and exists as a user-friendly way to distinguish between filters. |
| Description |
Description for the notification filter. When added, all notifications generated by this filter contain this description. Options: Automatic, Custom |
| Sound | Sets the sound defined in the Notifier Manager or override it with a custom sound for this specific filter. |
| Timeout | Uses the timeout value defined in the Notifier Manager or to override it with a custom timeout for this specific filter. |
Filter layout settings
By default, when notifications are created by a filter, these follow the layout defined in the Notifier.
However, you can create a custom layout for the filter through this setting.
Paths and properties
This list allows you to specify the paths that are used to decide whether to display a notification or not.
Note: Beginning Active Console 5.5.x, the Managed Entity display name is used in the user readable path.
To add or edit a path:
- Go to Tools > Notifier > Filter Table > Filter Configuration settings.
- Click Add. A new path appears in the list.
- Select the row and click the ellipsis button to edit the path.
- Modify the path that includes Geneos URLs, relative path, and data item elements.
- Click OK to save the changes.
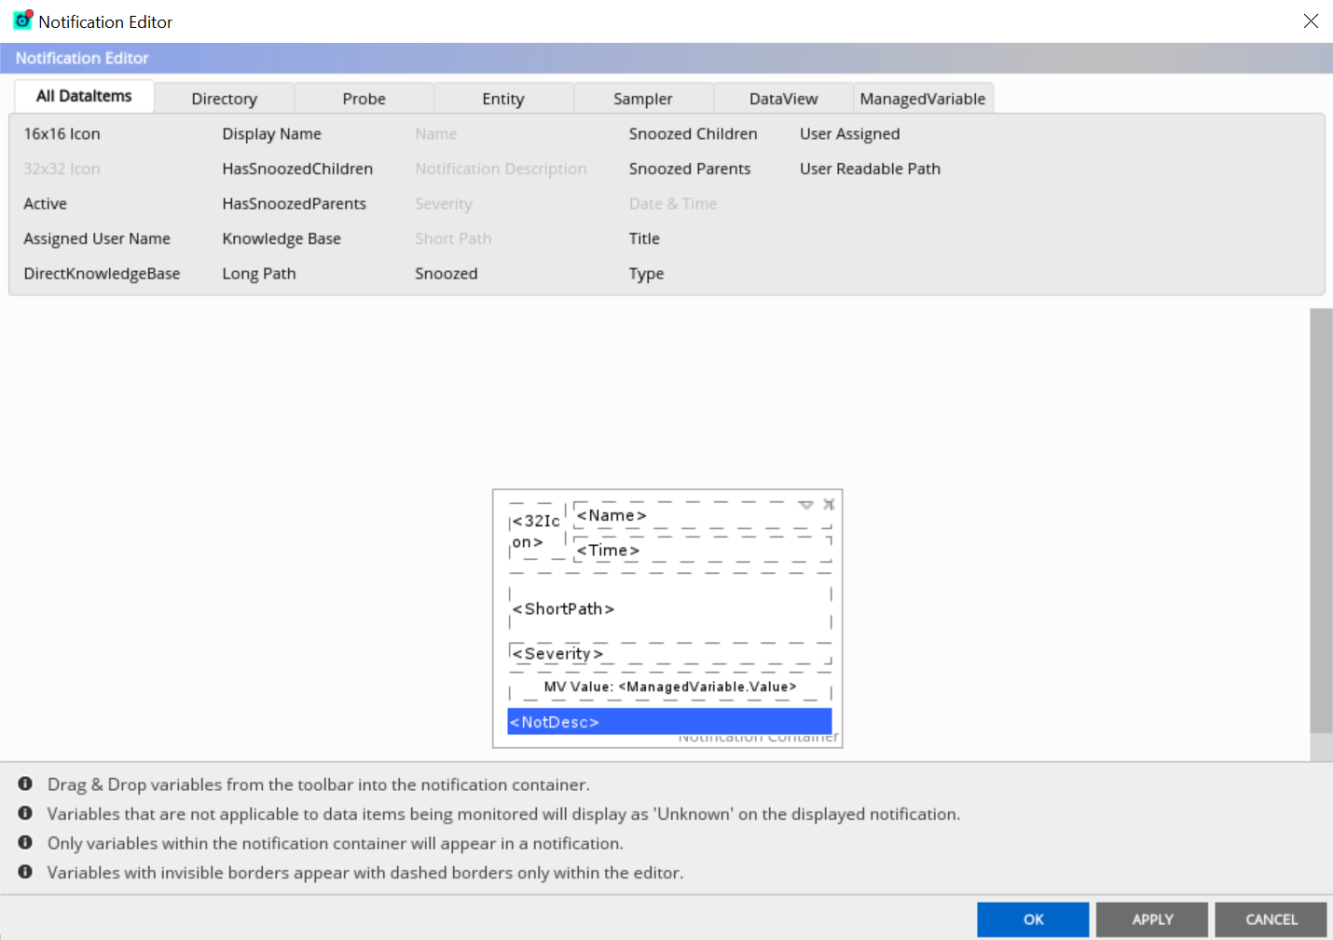
Notification Editor
The Notification Editor allows you to configure the layout of notifications.
It can be accessed when you edit the layout settings through:
- Notifier > Layout Settings > Notification container
-
Notifier > Filter Table > Layout Settings > Notification container
The editor is used to configure the content and layout of a notification, as well as its aesthetic properties. It has two main sections:
- List of elements — includes all the data items, directory, probe, entity, sampler, dataview, and managed variable list.
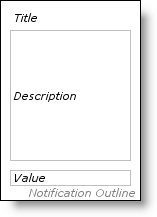
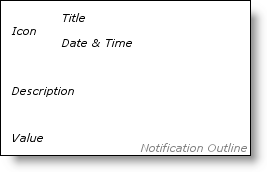
- Container outline — allows you to create your own notification layout that normally includes the title, date and time, description, value, and data item path.
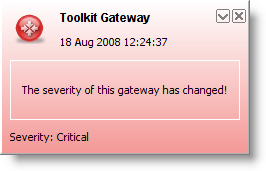
The container represents the frame of the actual notification. The elements are placeholder for the information that the notification displays.
| Editor view | Actual notification |
|

|
|
|
Arrange container elements
Right-click the notification container to configure the layout and arrangement of elements:
- Snap to Grid — determines whether the container and elements should snap to grid while you are moving and resizing them.
- Arrange > Group —groups elements and makes them behave as one object when moved and resized.
- Arrange > Ungroup — ungroups elements and makes them behave as individual elements when moved or resized.
- Arrange > Move to Front — makes the currently selected elements appear in front of all other elements.
- Arrange > Move to Back — makes the currently selected elements appear behind all other elements.
- Arrange > Align Left/Right — aligns the selected elements to the furthest left or right edge of all selected elements.
- Arrange > Align Center — aligns the selected elements to the centre of the positions (horizontally) of the selected elements.
- Arrange > Align Top/Bottom — aligns the selected elements to the furthest top or bottom edge of all selected elements.
- Arrange > Align Middle — aligns the selected elements to the middle of the positions (vertically) of the selected elements.
- Arrange > Distribute Horizontally — allows you to specify the horizontal gap between selected elements.
- Arrange > Distribute Vertically — allows you to specify the vertical gap between selected elements.